
Last updated November 4, 2026
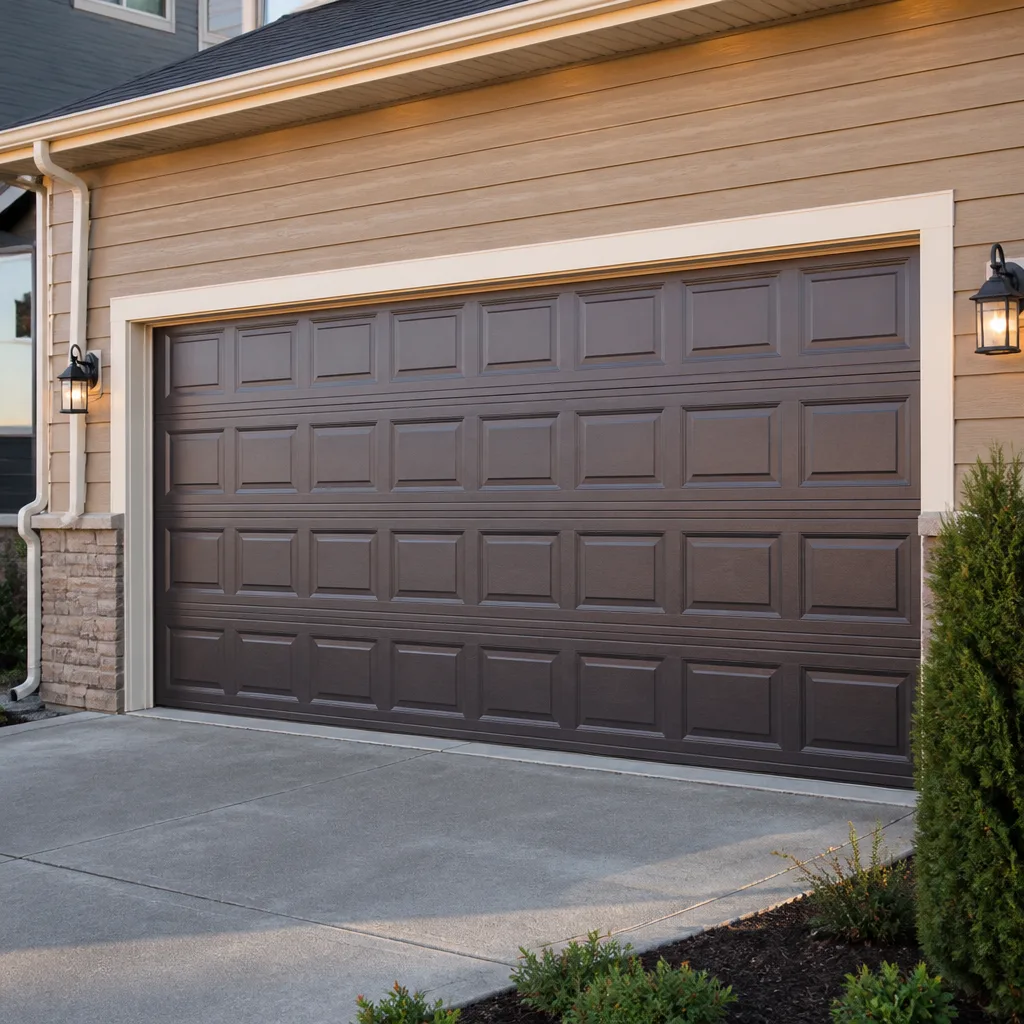 Raised-panel steel
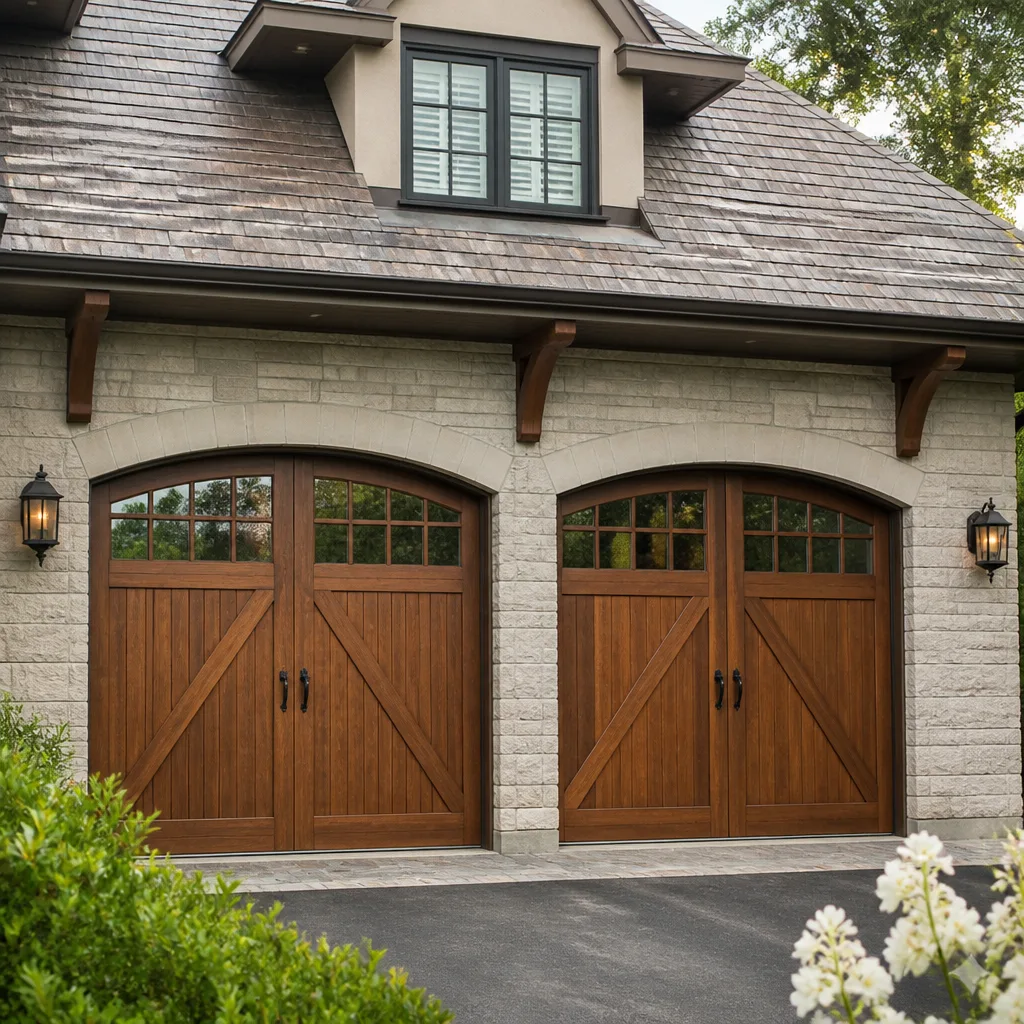 Carriage house
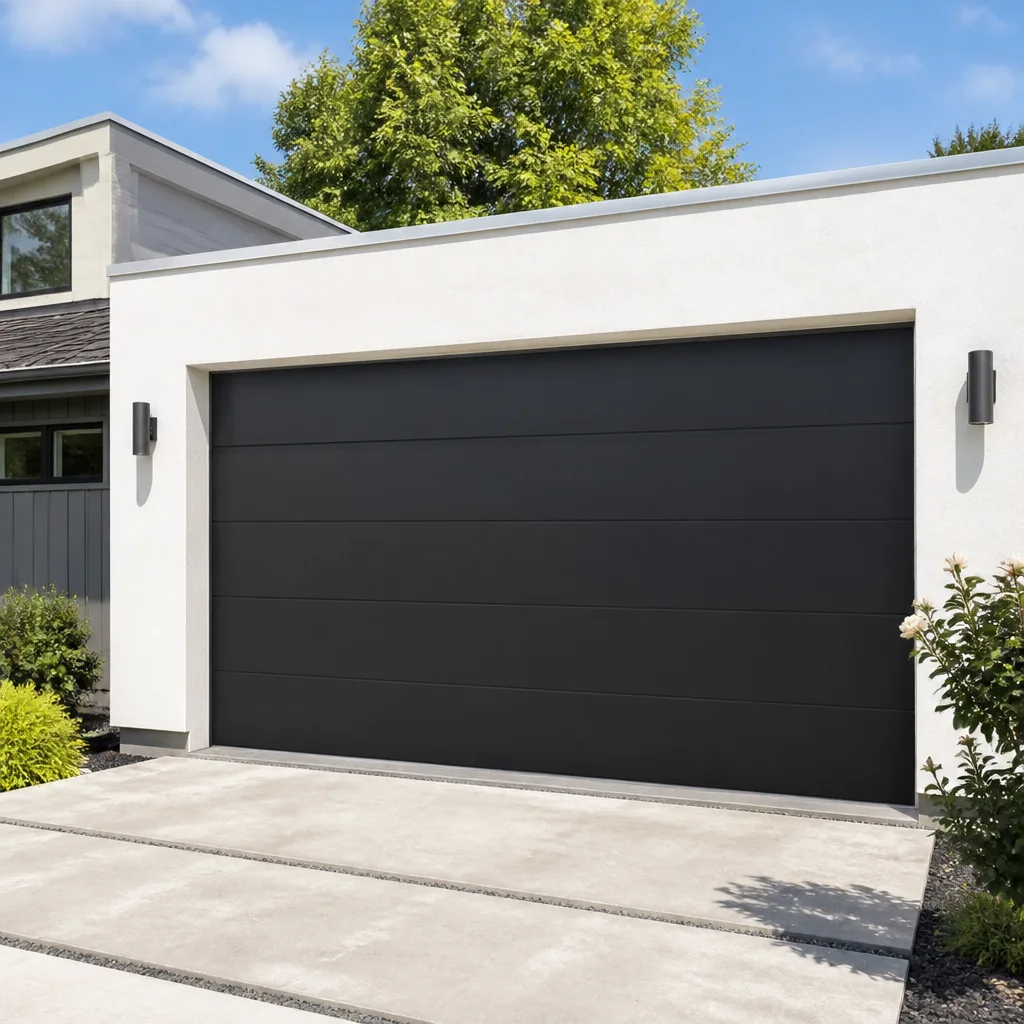 Modern flush
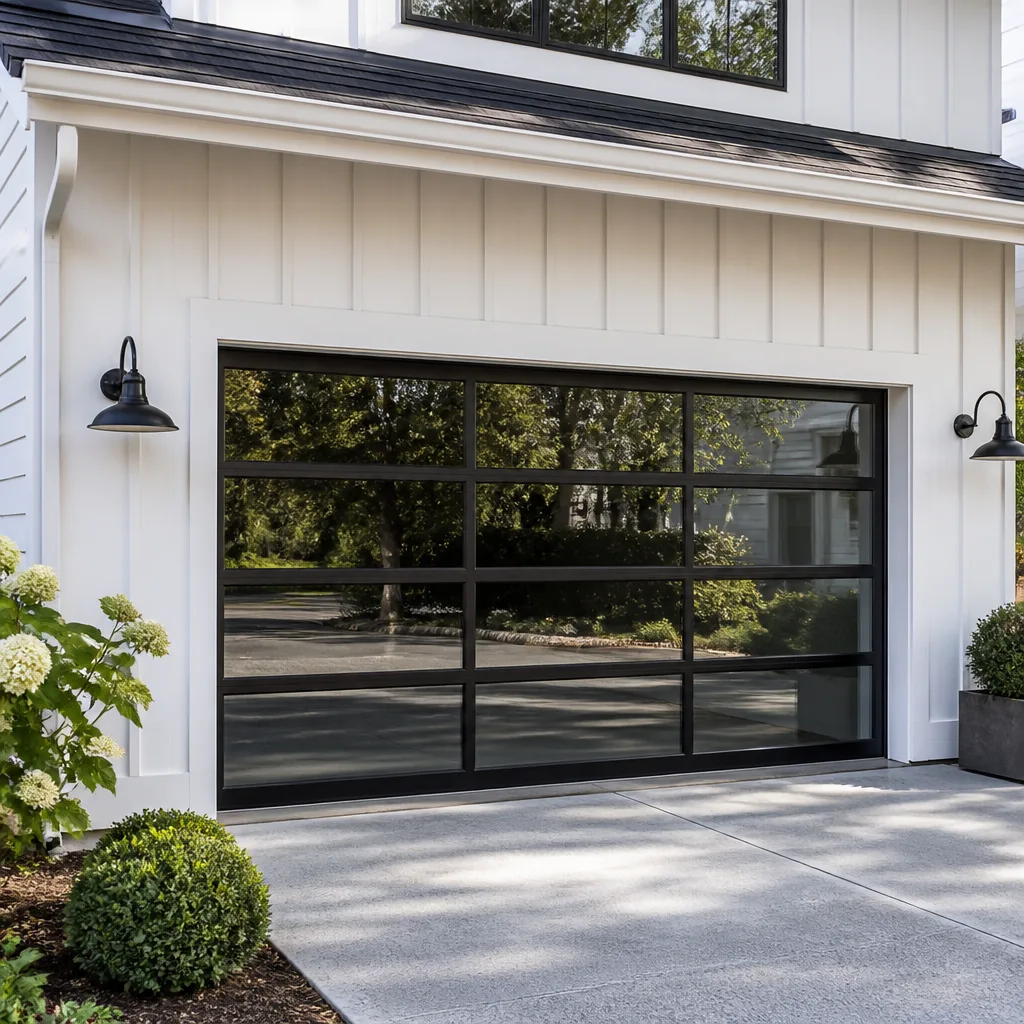 Full-view glass
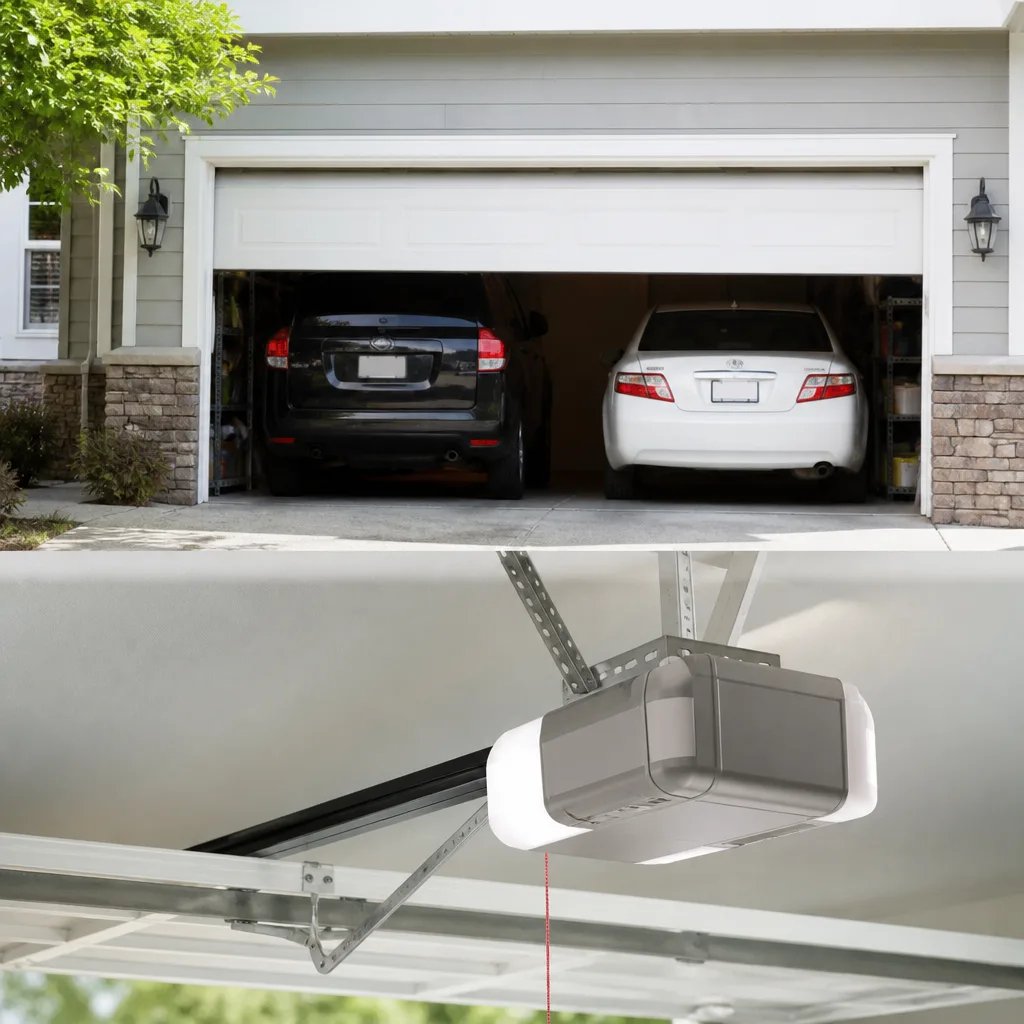 LiftMaster openers
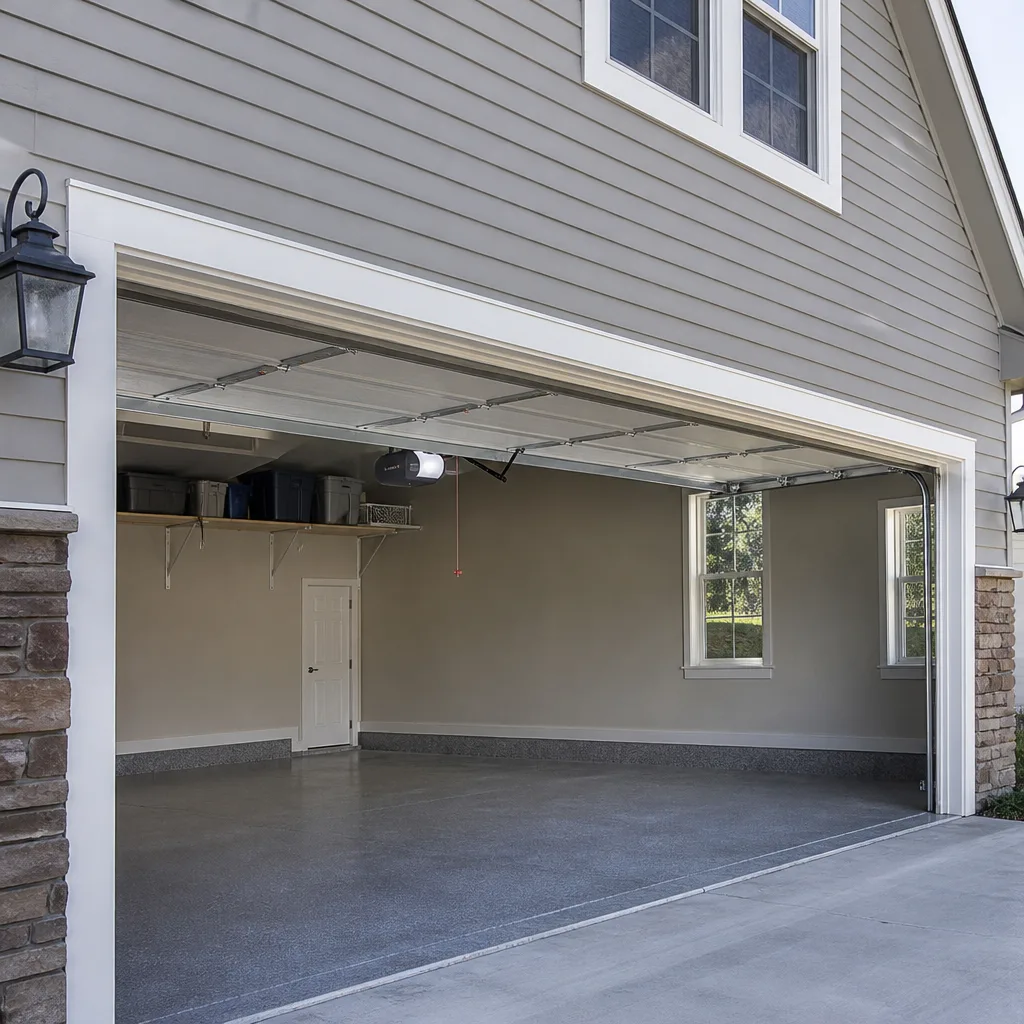 Chamberlain openers
Full 25-point door and opener safety check with every visit - springs, cables, rollers, tracks, and your LiftMaster or Chamberlain opener included
You get a price before we start. It does not change when the truck arrives.
Get your free estimateDIY vs Professional Garage Door: The Chino Hills Homeowner’s Decision Guide
Garage door springs hold enough tension to break bone or worse. That’s not a scare line, it’s physics. Yet plenty of homeowners in Chino Hills safely handle their own garage door maintenance every year, and plenty of others turn a simple $150 fix into a $900 repair by touching the wrong bolt. That gap between fear and overconfidence is where bad information lives. This guide walks through the specific tasks, the tools you actually need, and the jobs around Chino Hills where a pro call from the start saves real money and keeps everyone’s hands intact.
Styles & brands we work with
- Raised-panel steel
- Carriage house
- Modern flush
- Full-view glass
- LiftMaster openers
- Chamberlain openers
Quick Answer
For a homeowner in Chino Hills, the right DIY-vs-professional call depends entirely on the specific job: lubrication, sensor alignment, keypad replacement, and travel-limit adjustment are genuinely safe and simple with basic tools. Torsion or extension spring replacement, cable work, and full door removal are professional-only tasks because they involve stored energy that can’t be safely released without trained hands and specialized tools. When in doubt, call Pinecrest Garage Door at (877) 376-0803 for an honest assessment first. We answer 24/7. Fast dispatch from 7am to 7pm, Sunday through Friday.
Table of Contents
- How to Classify Every Garage Door Task by Risk
- The Genuinely DIY-Safe Tasks and What They Need
- DIY-Possible Tasks That Carry Some Risk
- Professional-Only Tasks and the Mechanics Behind That Line
- What Chino Hills Homes and Climate Mean for Your Door
- The Real Cost Comparison: Tools, Time, and Failed Attempts
- Using Manufacturer Documentation and Model Numbers the Right Way
- Common Mistakes to Avoid
- When to Call a Professional
- Frequently Asked Questions
- The Bottom Line
How to Classify Every Garage Door Task by Risk
The DIY-vs-professional question isn’t really about how handy you are. A careful homeowner with a single adjustable wrench will do more good than a confident one with no respect for stored energy. What separates garage door tasks from other home repairs is that the dangerous work looks easy. A spring doesn’t strain visibly. A cable doesn’t whistle. The system sits quiet and tame right up until the moment it isn’t.
So the useful question isn’t “Can I do this?” It’s “Does this task put me in the path of released energy, and can I control that release if something shifts?” That’s the filter.
We classify tasks into three buckets, and the line between them is mechanical, not motivational.
Bucket 1: Energy Is Off, No Load, No Release Path
These are the tasks where nothing is under load while you work. Lubrication, tightening visible bolts, cleaning tracks, replacing a keypad, adjusting the opener’s force settings. The door may be heavy, but you’re not releasing stored force or working under a suspended weight that can fall.
Bucket 2: Energy Is Present, But Controllable
Some tasks involve the door’s weight or a small amount of stored force, but the release path is short and containable if you work carefully. Aligning photo eye sensors, adjusting the close limit, replacing a remote. The worst realistic outcome is a door that stops moving or a pinch point you can avoid.
Bucket 3: Stored Energy Under High Tension, No Safe Release Without Training
This is the hard line. Torsion springs store enough pound-force to drive heavy tools through sheetrock. Extension springs snap forward when they fail. Cables under the door’s weight can slice like a wire. Even a fully wound spring at rest holds enough stored energy to cause catastrophic injury if the winding bars slip. That’s not a maybe, and it isn’t about courage. It’s about how the components work.
Using this three-bucket filter, most homeowners in Chino Hills can handle Bucket 1, cautiously attempt some Bucket 2 tasks, and should call before touching anything in Bucket 3. That’s the honest line.
The Genuinely DIY-Safe Tasks and What They Need
Some garage door tasks are not just safe, they’re satisfying. The caveat is that they require the right tools and a little reading. Not a full workshop. Not professional training. Just a few specific items and the willingness to look at the parts before touching them.
Lubrication is the most underrated DIY task in Chino Hills. Our inland valley climate runs hot and dry through much of the year, and dry rollers, hinges, and bearing plates are what turn a quiet door into a groaning one. A can of white lithium grease or a garage-door-specific spray lubricant, a rag, and twenty minutes is all it takes. Target the roller bearings, the hinges, the spring coils (lightly), and the opener rail. Skip anything that says WD-40 on the side. That’s a cleaner, not a lubricant, and it strips the grease you actually need.
Photo eye sensor alignment falls into a gray zone many people overthink. When the sensors sit out of line, the door refuses to close and the opener light flashes. Realigning them is usually a matter of loosening a wingnut, nudging the sensor bracket until the indicator light turns solid, and retightening. The risk is minimal: the door is down, the spring tension isn’t involved, and no stored energy is being released. A level helps, but even a phone’s level app works well enough to get the job done.
Keypad replacement is another low-risk task that trips up more people than it should. The keypad is battery-powered, usually wireless, and communicates with the opener via a code. Changing it out means pulling the old unit, mounting the new one, and following the opener’s pairing sequence. That sequence is where people get frustrated, not hurt. The fix is to find your opener’s manual and use its exact button order, not to improvise.
Travel limit adjustment is safe in the sense that you’re turning a screw or dial on the opener, not touching the spring or cable. If the door stops an inch short of the floor or reverses when it shouldn’t, the travel limit is the first thing to check. The key is to adjust in small increments, test, and adjust again. The door’s weight is being held by the springs while you do this, so you’re not under anything that can fall on you. Read the opener’s manual first, and mark the original position with a pencil in case you need to undo what you did.
Track cleaning is thankless but necessary. The tracks in a Chino Hills garage collect fine dust and the occasional leaf, especially if you park with the door open in the evening. A dry rag and a mild degreaser once or twice a year keeps the rollers from grinding through buildup. Don’t use grease in the tracks, don’t force anything, and don’t try to realign the track itself if it’s bent. Cleaning isn’t straightening.
None of these tasks require special strength, and none of them put you under a suspended door. They need a flashlight, a step stool, a flathead screwdriver, a crescent wrench, and the owner’s manual for your specific door and opener. If you don’t have that manual, make and model information tag on the opener or door panel can get you the right document online.
DIY-Possible Tasks That Carry Some Risk
A short list of jobs sits in the middle bucket. They don’t involve the spring under tension, but they do involve the door’s weight, moving parts, or an opening that could pinch a hand if you lose focus.
Roller replacement on a standard lift door often seems simple: pry out the old roller, pop in a new one. But on many doors, the bottom roller bracket attaches to the cable lift system. The bottom bracket is under the door’s full tension load, and that’s the one you don’t touch. Top and middle rollers can sometimes be replaced without touching the cables, but only if you know exactly how your door mounts them and can keep the door secured in the open position while you work. Door panels are heavy, and a door sitting partially open is a weight that wants to fall. If you aren’t certain how the rollers mount on your specific door, leave it alone.
Replacing weatherstripping along the bottom of the door is straightforward in theory and fussy in practice. The old strip slides out of a retainer channel, the new strip slides in. But aluminum retainers on Chino Hills doors take a beating from sun exposure, and old fasteners are often seized or rounded. It’s not dangerous, but it can turn into an hour of swearing if the old strip tears and leaves fragments stuck in the channel.
Smart opener pairing for LiftMaster or Chamberlain units with a phone app is designed for homeowners, but it occasionally trips over Wi-Fi band issues. The task is safe. The frustration potential is real. Your key to success is to use your specific opener’s model number when searching for pairing instructions, and to understand that some openers tie the phone app to specific hub hardware that not every model includes. That’s a compatibility question, not a settings question.
The common thread in this middle bucket: the components aren’t under dangerous spring tension, but the door itself weighs enough to matter. A falling panel can break fingers or worse. If your plan involves keeping a door propped open while you work, the right answer is often to clamp the track or use locking pliers below a roller. Doing that correctly matters more than being brave.
Professional-Only Tasks and the Mechanics Behind That Line
Here is where the line gets clean. The following tasks are not for homeowners, not with a YouTube video, and not with borrowed tools. The mechanical reason isn’t gatekeeping. It’s that the stored energy in these components is released in fractions of a second, and when it goes, it doesn’t care how careful you meant to be.
- Torsion spring replacement: A torsion spring above a Chino Hills garage door is wound to hold roughly the door’s full weight in balance. To replace it, a technician must unwind the old spring using winding bars inserted into the cone, then wind the new spring to the correct count of turns. If a bar slips mid-wind, it releases the stored force through anything in its path – hands, face, tools, finished walls. The correct winding count varies by door weight and height, and there is no recovery from a bar slip. Call a professional.
- Extension spring replacement: Extension springs run along horizontal tracks on both sides. When one breaks, it can snap forward or backward with enough force to send the spring or a cable end through drywall. The safety cables that thread through these springs exist precisely because of this failure mode. Replacing these requires releasing and reattaching the cable under tension, then securing the correct stretch on the new spring. A mistake here fires the spring or drops the door.
- Cable replacement or adjustment: Lift cables attach the bottom of the door to the spring system, and they live under the full tension of the spring assembly when the door is in any partial position. Replacing a frayed cable means de-tensioning the spring first. Doing cable work without spring work means touching things that should not be touched by anyone without training and proper tools.
- Bottom bracket replacement: The bottom corner brackets are the cable attachment points, and they sit under full spring load. A homeowner sees a rusty bracket and thinks “I can unbolt that.” But the moment those bolts come loose, the spring’s stored energy gets released through the cable and bracket, not through the spring itself. This is one of the most common ways a DIY repair turns into an injury or secondary damage.
- Full door removal or track realignment: A sectional door in the open position is a series of heavy panels riding in tracks held together by hardware. Taking it down safely requires supporting the weight, releasing spring tension, and guiding the panels out in sequence. Track realignment means adjusting the geometry that keeps the door running true and the springs balanced.
None of these things are rare failure points. Springs break on a predictable cycle, especially in Chino Hills where doors cycle twice a day for years at a time. Cables fray where they pass through the drum. Brackets rust where water has dribbled onto them. The jobs below the spring line are the bread and butter of a garage door repair schedule, because they’re the highest-failure parts and the highest-consequence mistakes.
When you see a gap in the spring coil, a frayed cable, or a door that’s noticeably heavier by hand in manual mode, that’s the signal to call before anything else moves.
What Chino Hills Homes and Climate Mean for Your Door
Chino Hills garages face conditions that shape how quickly components wear and what maintenance matters most. The climate is inland, dry, and warm for much of the year. That means two things: heat and fine dust.
Heat cycles put plastic and rubber parts through repeated expansion and contraction. Weatherstripping at the bottom of a south-facing door in Chino Hills bakes in direct sun, hardens over time, and cracks. Nylon rollers develop flat spots faster when they ride through heat. Opener motors, especially units installed near the ceiling where heat pools, run hotter here than they would in a coastal garage, which shortens capacitor and gear life over years of use.
Fine dust is the other constant. The hills and open space around Chino Hills mean dry dirt gets kicked up and settled into garage tracks, roller bearings, and opener rails. That dust mixes with old grease and forms a gritty paste that accelerates wear on anything that moves. Regular lubrication isn’t optional here, it’s the difference between a door that rolls quietly and one that grinds its way to an early spring and roller replacement.
Rain is uncommon but not absent, and when it comes, it doesn’t come in salty coastal air. Interior corrosion is less of a factor than it is for beach homes. But condensation on cool nights in winter months, especially in garages with water heaters or unvented humidity, can leave surface rust on hardware that never gets touched. The practical takeaway: check cables and brackets for rust once a year, and look at the bottom seal before the short rainy season starts.
Homes here run a wide gamut of door styles. You’ll find everything from original wooden doors in older neighborhoods to new steel and composite panels in newer developments. That variety matters because wood doors are heavier than steel, and heavier doors put more strain on every spring, cable, and opener gear in the system. A spring cycle that works for a steel door might not be balanced for a wood door, and anyone quoting on a spring or cable job needs to know what’s hanging above the opening.
One local habit worth mentioning: many Chino Hills garages double as storage and workshop space, which means door use isn’t just morning and evening. Some doors cycle four or five times a day. Spring life is measured in cycles, not years, so a high-use door in Chino Hills may need a spring before its less-used counterpart elsewhere.
The Real Cost Comparison: Tools, Time, and Failed Attempts
A parts-only price comparison flatters DIY. It always has. The honest comparison adds the tools you don’t already own, the time the job actually takes, and the probability that the first attempt fails and leads to a service call anyway.
DIY-Safe Task Example: Lubrication
- Parts and materials: one can of white lithium grease, $7 to $12 at any hardware store in Chino Hills.
- Tools: a rag and a step stool, which most homes already own.
- Time: twenty to thirty minutes, once or twice a year.
- Failure probability: near zero if you use the right lubricant.
- Professional cost equivalent: a service visit plus labor for a tune-up, typically $75 to $125.
This one’s a clear DIY win. There’s no comparison.
Middle-Bucket Example: Sensor Alignment
- Parts: likely none, unless a sensor is actually broken.
- Tools: a screwdriver and a level, plus your phone.
- Time: fifteen to forty-five minutes, depending on your patience.
- Failure probability: moderate, mostly due to chase-the-flashing-light frustration.
- Professional cost equivalent: a service call with sensor alignment, typically $85 to $150.
If the sensors are out of alignment but not broken, DIY saves a full dispatch fee. If the sensor is actually failed, the homeowner’s time is spent and they still need a technician. The test is whether both sensor lights are on and steady before you start adjusting.
Professional-Only Example: Torsion Spring
- Solo DIY parts cost: a matched pair of springs, $60 to $120 online, plus winding bars at $20 to $40.
- Tool cost you didn’t expect: no safe substitute for the right bars, and a vise to hold the torsion tube if needed.
- Time: hours, if the first attempt doesn’t go wrong.
- Failure probability: high, and the failure modes are dangerous. A slipped bar can break bone, tear flesh, or launch a tool through the garage.
- Professional cost in Chino Hills: a pair of springs installed for a standard two-car door often runs $180 to $340 for one, with most doors needing a matched pair, putting the typical professional job at roughly twice that and done same-day.
Notice the structural difference. On a spring, the professional price isn’t parts plus labor. It’s the cost of a controlled release, correct winding count, and a system that balances after the work. The DIY price carries a risk of injury that skews every comparison. We’ve been called out for springs after a failed DIY attempt, and by then the repair is always more involved than it would have been on the first visit. Sometimes the door is in worse shape, sometimes the hardware is damaged, and sometimes the homeowner is just shaken and wants it done right.
That’s the honest arithmetic. The tasks where DIY saves money are the low-risk ones in Bucket 1. The tasks where DIY looks cheaper but isn’t are all in Bucket 3. And the middle-bucket savings are real but modest, and only worth it if you can diagnose accurately before starting.
Using Manufacturer Documentation and Model Numbers the Right Way
Every brand supplies documentation, and most of it is decent. LiftMaster and Chamberlain have comprehensive manuals online, with model-specific travel-limit and force-setting instructions. Genie has similar. For door hardware, Clopay, Wayne Dalton, and Raynor publish parts diagrams and installation instructions. That’s the first place to look for any task in Bucket 1 or Bucket 2.
Here’s the sequence we recommend, in order.
- Find the model number. On an opener, it’s on a label on the motor housing. On a door, it’s often on a sticker near the end of a panel or on the lock bar. Write it down or photograph it.
- Go to the manufacturer’s support page and enter that exact model number, not just the brand. Searching “Chamberlain garage door opener manual” gets you the wrong doc for half the models out there.
- Read the section for your specific symptom before touching anything. Manuals are organized by symptom, not curiosity.
- Note the tools the manual assumes you have. If it says “winding bars,” stop. You’ve crossed into Bucket 3.
- If the manual mentions tension, springs, or cable release, stop and call.
One overlooked resource is the safety reversing test. Openers built after the early 1990s include a mechanism that reverses the door when a solid object interrupts its path. You can test this with a 2×4 laid flat under the door’s path: the door should reverse within two seconds of contacting it. Pencil-mark the 2×4 before testing so you can use it as the reference point. If the door doesn’t reverse, don’t adjust more than the manual allows. A door that crushes instead of reversing is a professional repair, not a settings tweak.
One caution: generic YouTube searches are full of videos where the fine print warns that garage door spring work is for professionals, and some don’t. The good ones say don’t do this. The bad ones leave out the exact failure moment. Trust the manual over the video, and if the manual says the component is under tension, believe it.
Common Mistakes to Avoid
- Thinking a broken spring is just a heavy door: A door that won’t lift by hand, or an opener that strains and then stalls, often means a spring has snapped. Forcing the opener to lift the door by pulley or gear alone burns out the opener motor and adds a second repair to the first. In Chino Hills, we see this exact sequence often enough to call it a pattern.
- Using the wrong lubricant: WD-40, motor oil, or lithium grease with a solvent carrier can strip the existing grease from rollers and bearings, leaving parts drier than before. Use a garage-door-specific lubricant or a pure white lithium grease.
- Adjusting springs without understanding turn counts: Every door has a specific number of quarter and full turns for its springs. Adding or removing turns without knowing the correct count changes the door’s balance and makes every other component wear faster, assuming the bar doesn’t slip first.
- Ignoring the safety reversal test: After any adjustment to travel limits or force settings, the door must reverse on contact. Skipping the test leaves a door that can crush a person, pet, or object. It’s a two-minute test with a piece of wood.
- Replacing one spring instead of both: The springs on a two-spring door wear at roughly the same rate through the same cycle count. When one breaks, the other is near the end of its cycle life too. Replacing one means the older spring carries the work load, and a month later the second spring fails and the homeowner pays for the same repair again. A matched pair replacement is standard practice.
- Believing the opener is the problem when it isn’t: Openers get blamed for broken springs, misaligned doors, worn rollers, and dead keypads. Replacing the opener doesn’t fix any of those. Diagnose the actual component before buying parts.
- Working under a door propped open with a stick: A broomstick, a 2×4, or a pair of locking pliers placed loosely in the track all fail the same way: the door drops or shifts, and someone’s hand or head is underneath. If the job requires holding the door open, it requires holding it open correctly with a mechanical lock in the track, and that’s a job where most people are better served by a call.
When to Call a Professional
Call when the job involves a spring, cable, bottom bracket, or any component connected to the lift system. Call when the door is noticeably heavier than it was, when the opener strains and shudders instead of moving the door cleanly, or when the door sits crooked or hangs unevenly in the opening. Call when you’ve completed a DIY-safe adjustment and the door still behaves oddly. And call when you can hear or see a problem but can’t confidently name which part is doing it.
We work on all the major brands Chino Hills homeowners actually have: LiftMaster, Chamberlain, Genie, Clopay, Amarr, Wayne Dalton, Craftsman, and Raynor. That matters because diagnosis starts from what’s already installed, not from what a company would rather sell. If a spring has failed on a Raynor door, we’ll tell you. If your Chamberlain opener is salvageable, we’ll say so. If it’s shot, we’ll tell you that too, and you can decide with a number in hand, not a guess.
Pinecrest Garage Door offers free estimates in Chino Hills. Call (877) 376-0803. We answer 24/7. Fast dispatch from 7am to 7pm, Sunday through Friday.
Our garage door opener repair work covers the motorized half of the system that most service calls involve, and if the door itself needs replacing, that’s the same crew under the same roof.
Frequently Asked Questions
No. Torsion and extension springs hold enough stored energy to cause serious injury or death if a winding bar slips or a cable lets go during release. This is the one garage door task where we tell every homeowner, without exception, to call a professional. The injury risk isn’t a matter of caution, it’s a matter of stored force that cannot be safely released without training and the correct tools.
Lubricating rollers, hinges, and the opener rail; aligning photo eye sensors; replacing a keypad; adjusting travel limits; and cleaning tracks are all safe for a careful homeowner with basic tools. None of these put you under the spring’s load or in the path of released tension. Read the opener or door manual first, and work in small, testable increments.
A single torsion spring typically runs $180 to $340 installed, and most doors need a matched pair, which puts the common job around twice that range for a two-spring system. The written estimate you get before any work starts is the number that matters. Call (877) 376-0803 for an exact quote. Estimates are free.
You can, but we generally don’t recommend it. Online spring specs are often misidentified, and a spring wound for the wrong door weight or height throws off the entire balance, wearing out the opener and other components. The parts cost savings is small compared to the labor and risk of an incorrectly matched spring. A professional bringing the correct spring is part of what the service call pays for.
No. We quote by the written estimate before any work starts, and the price is agreed before any part of the repair begins. If the diagnosis changes or additional work is needed, we tell you and get your approval first. You won’t get a surprise invoice after the fact.
Check the photo eye sensors at the bottom of both tracks. If one or both indicator lights are off or blinking, the sensors are blocked, dirty, or out of line. Clean the lenses, make sure nothing is stacked in the beam’s path, and realign the brackets if necessary. If both lights are solid and the door still won’t close, it’s time to look at travel limits, force settings, or a professional diagnosis. Call (877) 376-0803 if you’re unsure.
The Bottom Line
The DIY-versus-professional question for Chino Hills garage doors comes down to one honest distinction: low-risk maintenance and simple adjustments are fair game for a careful homeowner, while anything connected to springs, cables, or lift-system tension belongs to a trained technician. The savings from doing the safe tasks yourself is real. The cost of attempting the dangerous ones isn’t measured in dollars, it’s measured in consequences. When a job crosses that line, call Pinecrest Garage Door at (877) 376-0803. We answer 24/7 and dispatch fast from 7am to 7pm, Sunday through Friday. Free estimates, written price before work starts, and the brand expertise to fix what’s already on your house.
Written by the team at Pinecrest Garage Door, serving Chino Hills since 2018.
See the difference
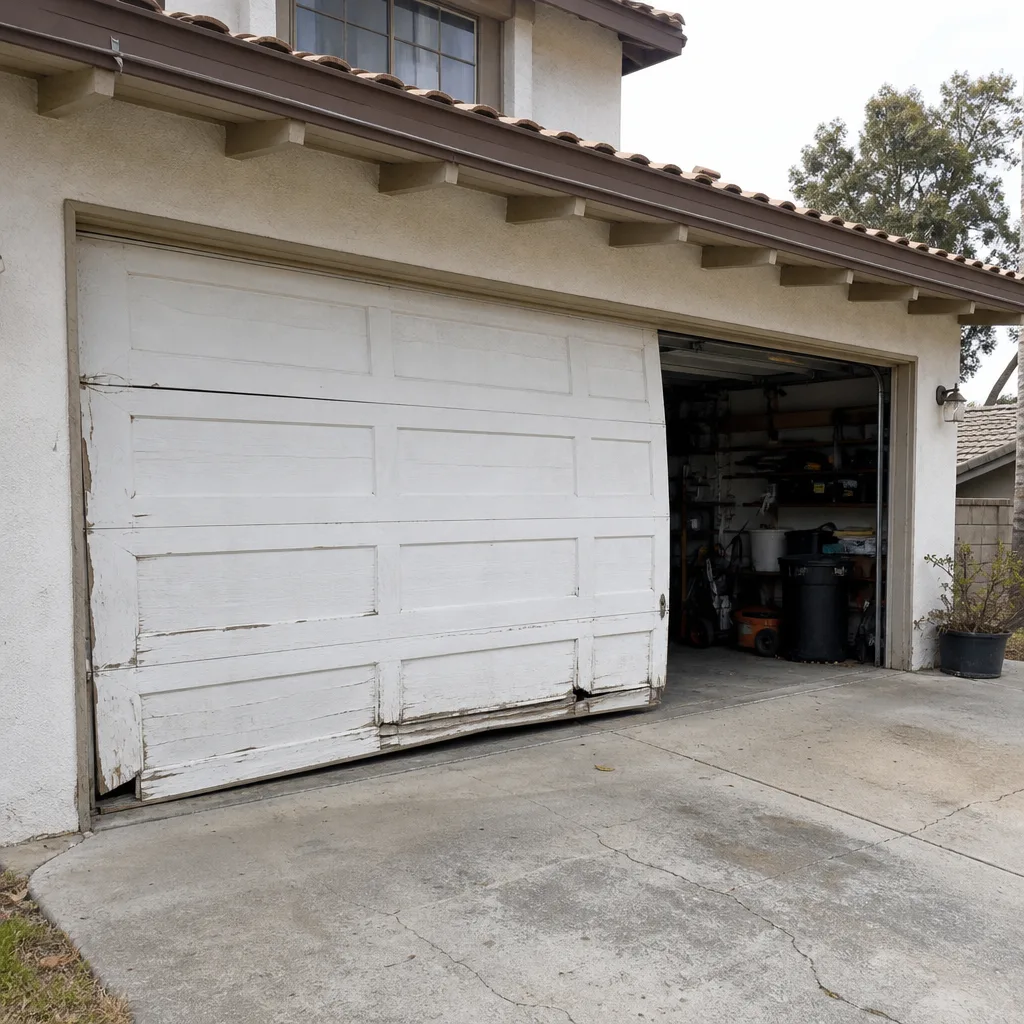 Before
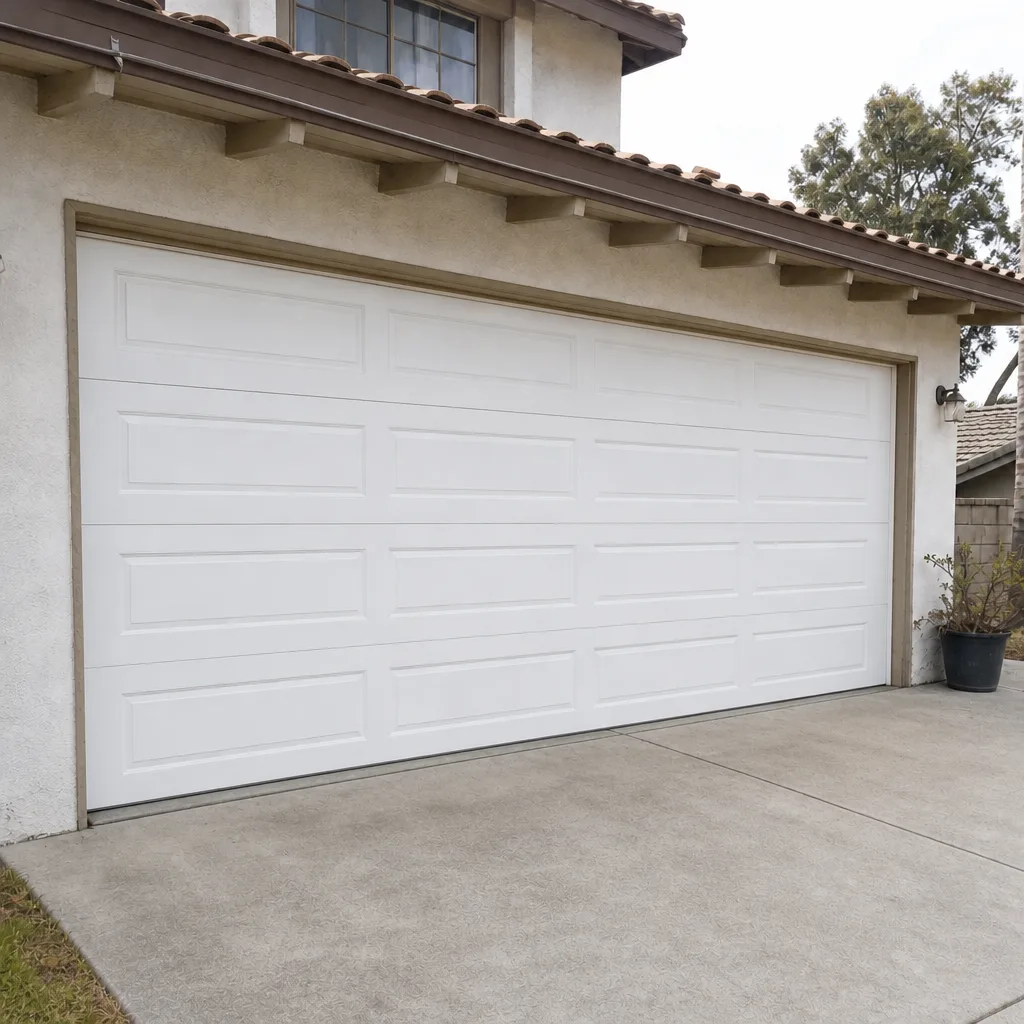 After
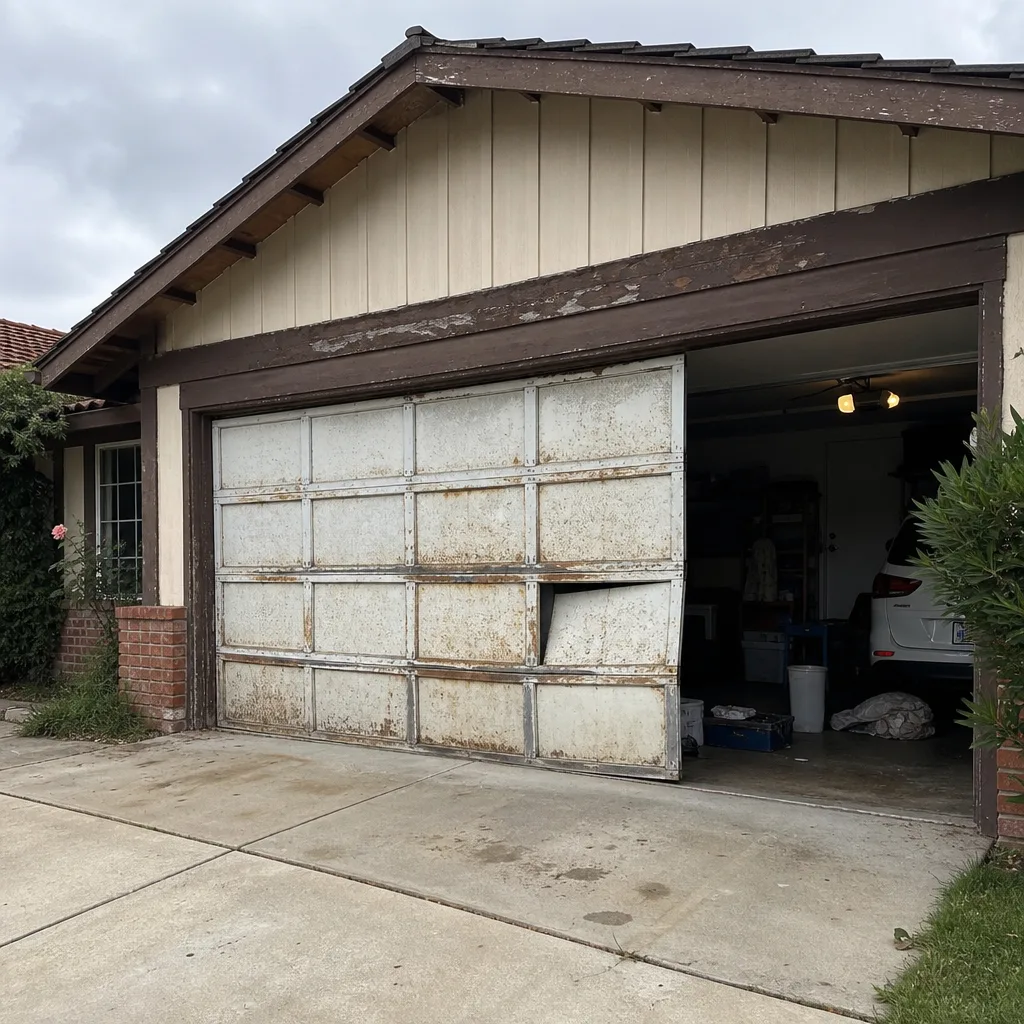 Before
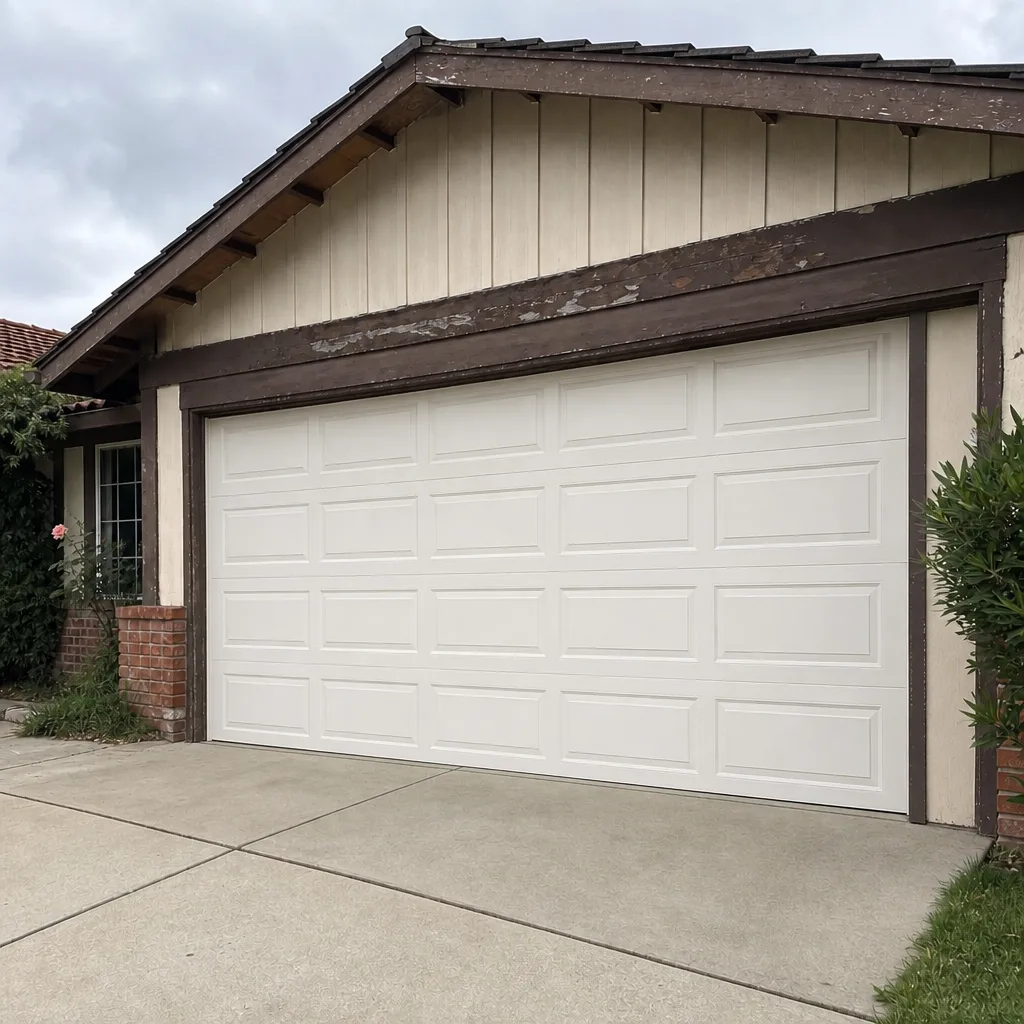 After
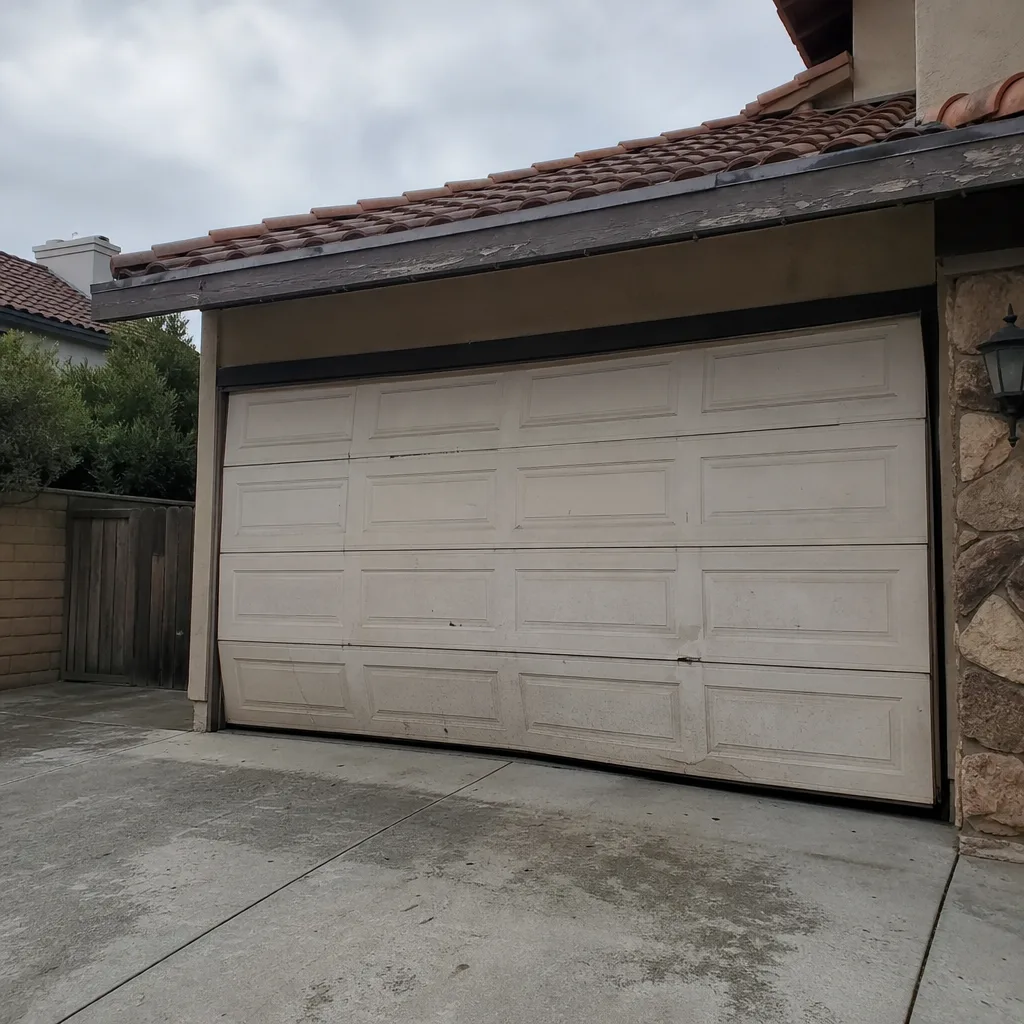 Before
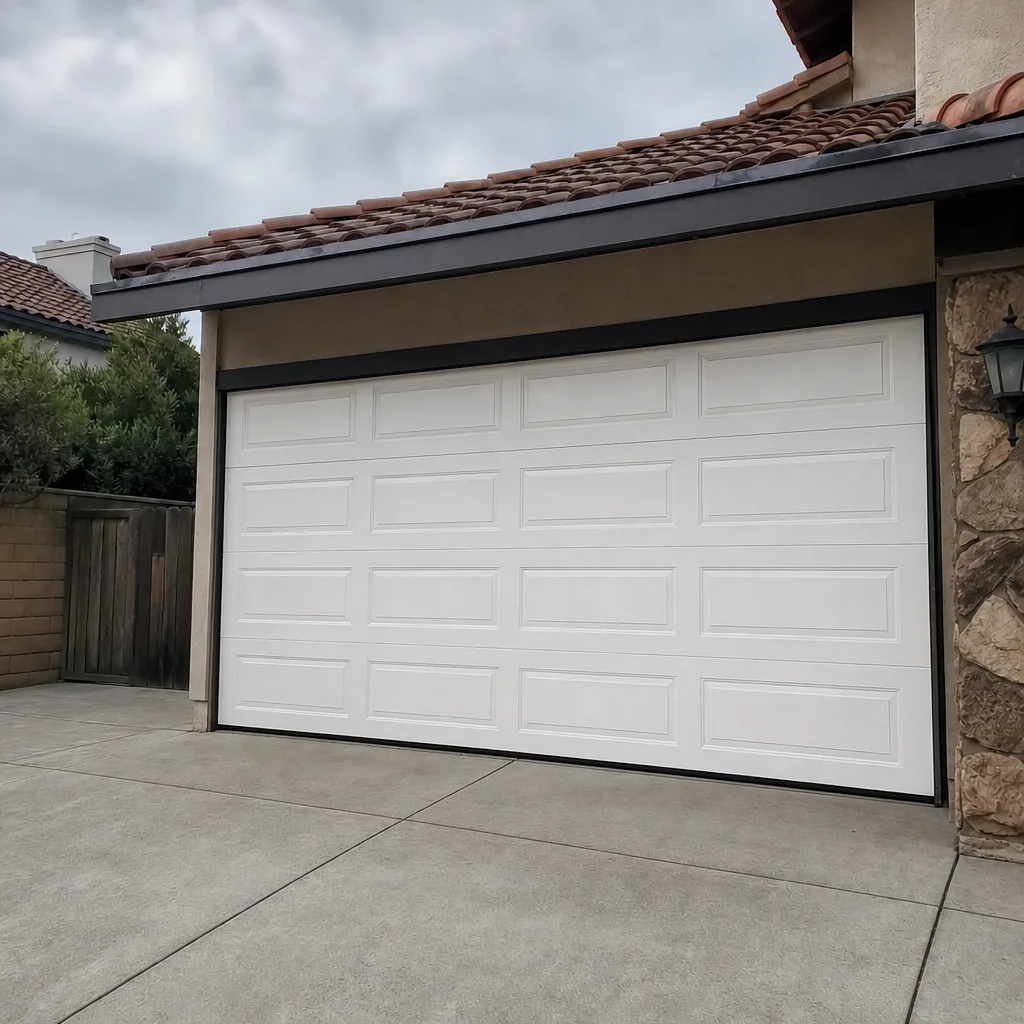 After